Remote Use of Version Control
So far, we have used version control only on our own computer. To protect code from hard drive failures and to make it possible to share it with others, the code is usually uploaded to a remote repository. A remote repository may simply be another computer on a network, but nowadays it is more common to use a public remote repository service such as GitHub or GitLab. These, along with many other similar Git hosting services, also provide additional project management features such as issue tracking, discussion forums, and other collaboration tools. These additional tools are not Git tools themselves, but they make remote repository services versatile collaboration platforms.
In this section, we will move a local project to either GitLab or GitHub. Students at the University of Jyväskylä have access to the university's own GitLab server. Other students can upload their code to GitHub, for example.
Creating a Remote Repository
Before a Git repository can be uploaded to a remote repository service, a remote repository must first be created in that service. Remote repository services often refer to repositories as projects because of the additional services they provide.
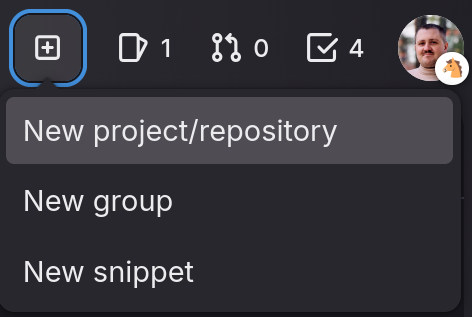
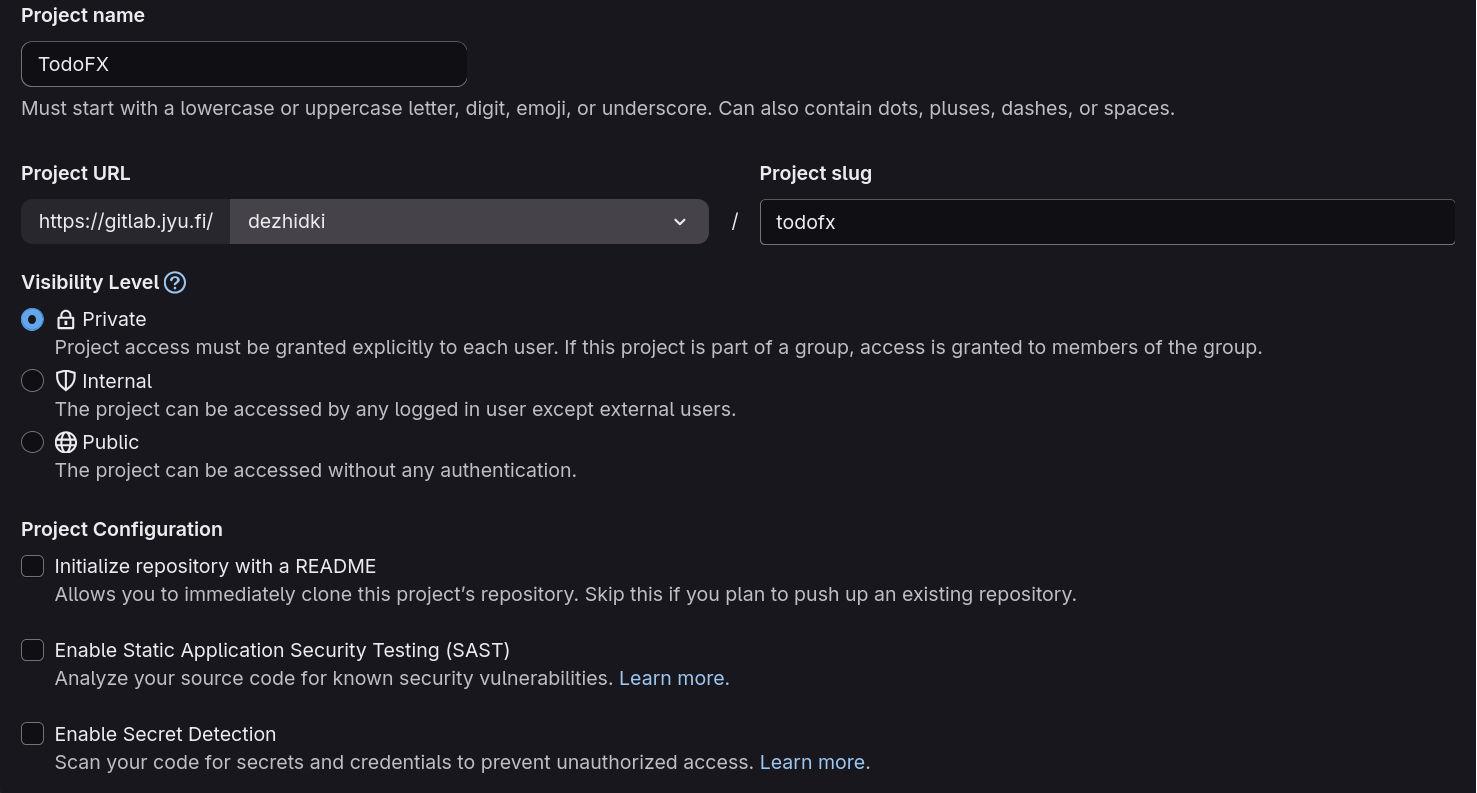
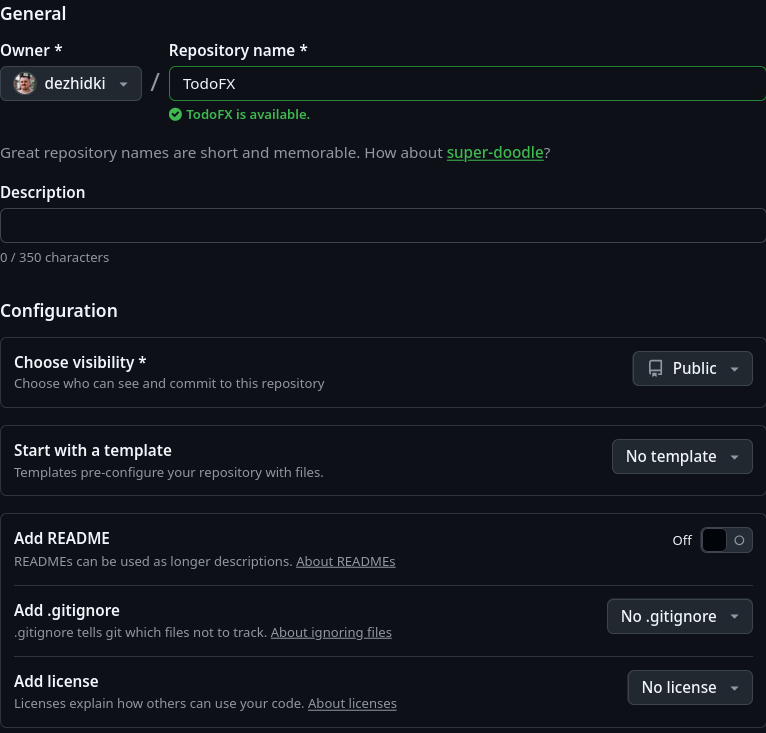
Choose
Select the remote repository service to use:
- University of Jyväskylä students: choose GitLab (JYU). You may use GitHub instead if you wish.
- Otherwise, choose GitHub.
Connecting a Remote Repository to a Local Project
Open a command prompt and navigate to the root directory of your project.
The root directory is the folder that contains the src directory and the pom.xml file.
You can verify that you are in the correct directory by running the git status command. The status of the Git repository should be displayed in the same way as in Section 7.3.
Next, we will add the remote repository address to the local repository. To do this, we first need to know the Git remote repository URL.
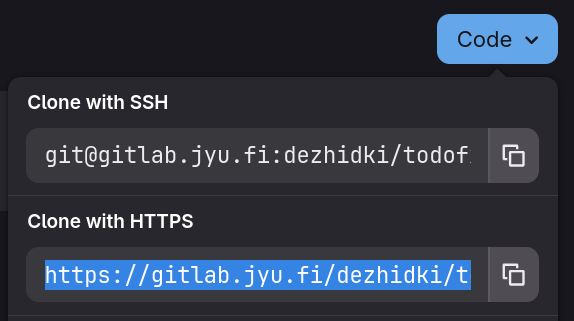

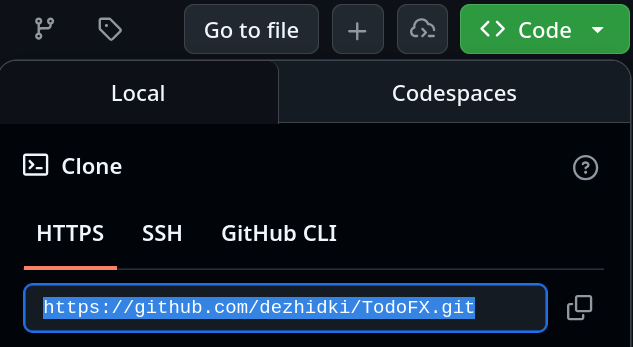
Choose
Select the remote repository service to use:
- University of Jyväskylä students: choose GitLab (JYU). You may use GitHub instead if you wish.
- Otherwise, choose GitHub.
Copy the repository URL and add it to the local repository using the git remote add command.
The git remote add command takes two parameters: the name of the remote repository and the URL of the remote repository.
The name origin is the conventional name in Git for the primary remote repository of a project.
Sending Code to the Remote Repository for the First Time
We can now send the code to the remote repository. Before sending the code, we must determine the username and password required by the remote repository service. These depend on the service being used.
Choose
Select the remote repository service to use:
- University of Jyväskylä students: choose GitLab (JYU). You may also use GitHub if you prefer.
- Otherwise, choose GitHub.
Once you know the username and password, you can send the project to the remote repository for the first time using the git push command.
This command does two things:
pushsends local commits to the remote repository.-u origin masterlinks the localmasterbranch to the repository'smasterbranch. Because of this, Git will know in the future that thegit pushcommand, without additional parameters, should send code to theoriginremote repository.
Note that when sending code for the first time (that is, when performing the first push), Git may ask for your username and password. The login dialog varies between operating systems, but the principle is always the same: enter the username and password according to the instructions above.
From Now On
Once the remote repository has been configured and the first push has been completed, the workflow becomes simple:
- Make changes to the source code.
- Run
git add .This adds the changes to Git's staging area. - Run
git commit -m "Added editing window"This creates a commit from the staged changes. - Run
git pushThis sends all commits made so far to the remote repository for safekeeping.
Create a public Git remote repository for your work and save your code there.