On the Programming 2 course, we use the following tools:
Java Development Kit (JDK), a software development kit that includes, among other things, the Java compiler and the Java Virtual Machine for running Java programs.
Git, a version control system (VCS) that enables source code versioning and collaboration between developers.
IntelliJ IDEA, an integrated development environment (IDE) for developing and debugging Java programs and more. We use the free Community Edition of IntelliJ IDEA.
SceneBuilder, a helper tool for creating JavaFX user interfaces.
The above programs are pre-installed in the Agora computer classrooms. If you have your own computer, we strongly recommend installing them there as well.
In particular, completing the project work is much easier when all required tools are available on your own computer.
The officially supported operating systems for this course are Windows, macOS, and Linux.
Installing the tools on ChromeOS may be possible, but unfortunately we cannot provide support for that operating system. For this reason, we do not recommend using ChromeOS.
If Windows Update offers operating system updates, install them.
After that, verify that the winget package manager is installed:
Open PowerShell. (search-iconwrite PowerShellWindows PowerShell).
Run the following command:
winget -v
The version of winget should be displayed.
If you instead receive an error such as:
'winget' is not recognized as the name of a cmdlet, function, script file, or operable program
you most likely do not have winget installed.
If updating Windows does not help, try the following:
Verify that your Windows installation is up to date.
Download and install winget manually.
After installation, close and reopen PowerShell.
macOS
First, make sure your computer is up to date.
Then verify that the Homebrew package manager is installed:
Open Terminal (LaunchpadTerminal).
Run:
brew --version
If you receive the error:
command not found: brew
you must install Homebrew.
How to install Homebrew
Open Terminal
Install the macOS developer tools:
xcode-select --install
You may receive a prompt asking whether you want to install the command-line developer tools(The 'xcode-select' command requires the command line developer tools. Would you like to install the tools now?). If so, choose Install and wait for the installation to finish.
If you receive the message:
command line tools are already installed
you already have the required tools.
When prompted for a password, enter your macOS password and press Enter.
Note that no characters, not even asterisks, are shown while typing the password.
When Homebrew asks:
Press RETURN/ENTER to continue or any other key to abort:
press Enter and wait for the installation to complete.
If installation succeeded, you should see output similar to:
Homebrew X.X.X
where X.X.X is the installed version number.
Linux
The following instructions assume you have experience installing software on your Linux distribution.
Use your own judgment when following them.
Keep the following in mind:
Some tools are available through your distribution's package manager, but certain graphical applications are often distributed independently of Linux distributions.
We recommend using a distribution-independent package manager such as Snap or Flatpak when necessary.
After installing prerequisite packages, open a fresh terminal window.
Choose
Select your operating system from the options above.
If you see the Git version (for example git version X.XX.XX, where X.XX.XX is the exact version), you may skip the Git installation instructions entirely.
If the command is not found, continue with the instructions below.
Installing Git
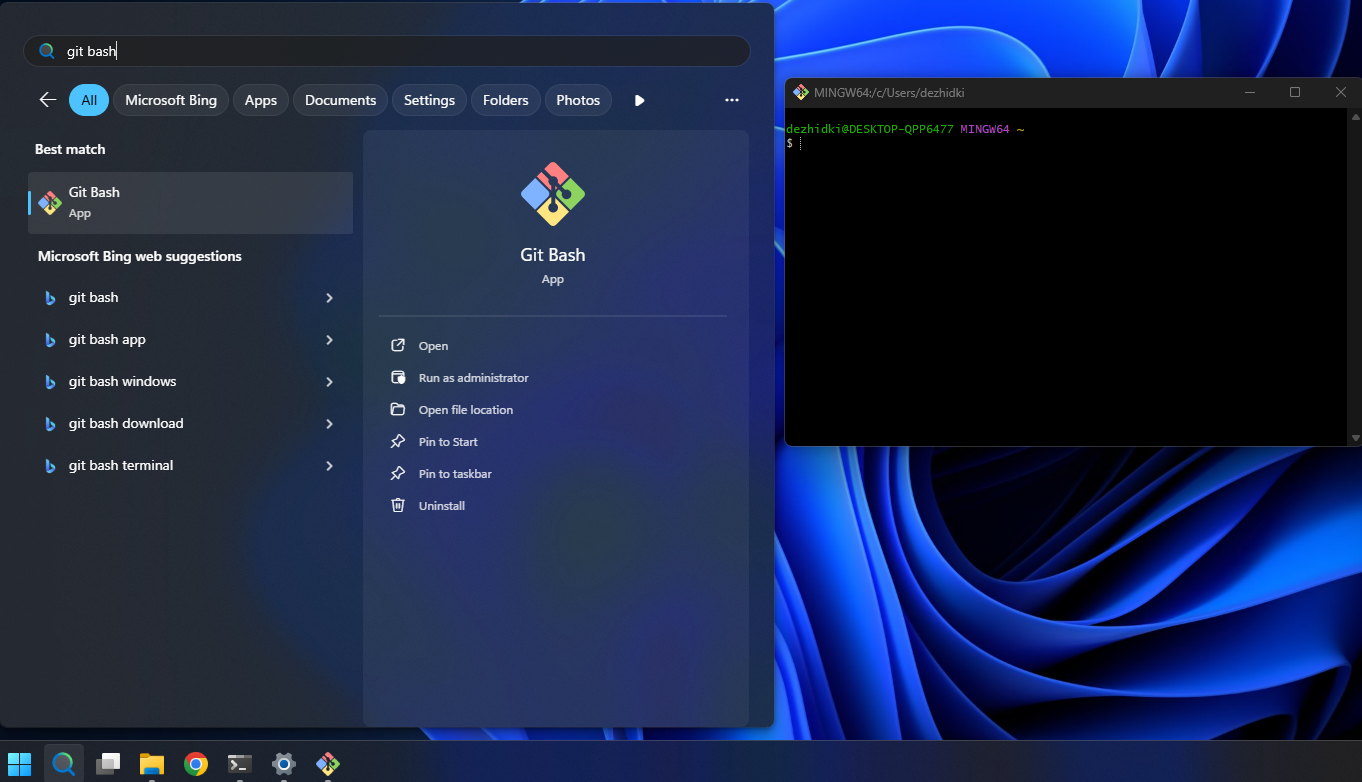
Open PowerShell.
Install Git for Windows by running the following command:
After downloading, the installer will open.
Continue through the installer using the Next button.
In Installation Options, enable:
Add "Open Folder as Project"
Create Associations: .java, .gradle, .kt
Allow the installation to finish.
At the end of the installation, select Run IntelliJ IDEA and click Finish.
Verify that IntelliJ IDEA starts correctly.
The first startup may take some time because the system performs a security check.
Accept the license agreement if prompted.
If another JetBrains IDE or Visual Studio Code is installed, IntelliJ IDEA may ask whether you want to import settings from it.
You may either import the settings or choose Skip Import.
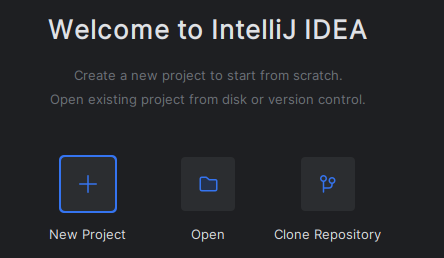
When startup completes, you should see the Welcome to IntelliJ IDEA screen.
Disable AI-powered code completion:
Settings
→ Editor
→ General
→ Inline Completion
Disable:
Enable local Full Line completion suggestions
Done!
macOS
Open Terminal.
Install IntelliJ IDEA:
brew install --cask intellij-idea-ce
Wait for the installation to finish.
You may be asked for your macOS password.
Verify that IntelliJ IDEA works:
Open Launchpad and start IntelliJ IDEA CE.
The first startup may take some time.
Accept license agreements if prompted.
if IntelliJ asks whether to import settings from another IDE, select Skip Import.
When installation is complete, the Welcome to IntelliJ IDEA screen should be visible.
IntelliJ IDEA includes two AI-powered code completion features: AI Assistant and Inline Completion. These attempt to automatically complete code as you write.
You can disable these features as follows.
Disabling AI Assistant
Settings → Plugins
Select the Installed tab
Find JetBrains AI Assistant
Disable the plugin or uninstall it completely
Disabling Inline Completion
Open IntelliJ IDEA to the Welcome to IntelliJ IDEA screen
Select Configure → Settings in the lower-left corner
Wait for the installation to complete and grant permissions if necessary.
If you see a prompt such as:
Do you agree to all the source agreements terms?
[Y] Yes [N] No:
press y and then Enter.
Verify that the output contains: Successfully installed
Test that SceneBuilder works:
Search → SceneBuilder → SceneBuilder
Verify that the application launches correctly.
Close the application.
Done!
macOS
Open Terminal.
Install SceneBuilder:
brew install --cask scenebuilder
Wait for the installation to complete.
You may be asked for your macOS password.
Verify that SceneBuilder works.
Open Launchpad and start SceneBuilder.
The application should launch successfully.
Close the application.
Done!
Linux
Open your distribution's terminal.
Install SceneBuilder. Installation methods vary between distributions:
Arch Linux
Install the javafx-scenebuilder package from the AUR by hand or by using the yay tool.
For example:
yay -S javafx-scenebuilder
Flatpak
flatpak install flathub com.gluonhq.SceneBuilder
Other distributions
We recommend downloading the official .rpm or .deb package from the SceneBuilder website.
Installing a .deb package (Debian, Ubuntu, Linux Mint):
sudo dpkg -i file.deb
Installing an .rpm package (Fedora, CentOS):
sudo rpm -i file.rpm
Verify that SceneBuilder works.
Start SceneBuilder from your application menu or from the command line.
Close the application.
Done!
Choose
Select your operating system from the options above.
I get the error error: illegal character: '\ufeff' when running a Java project in my IDE.
A problem may occur if you imported settings from JetBrains Rider.
Rider settings are not completely compatible with Java development, and IntelliJ IDEA may not automatically fix the resulting issues.
Try the following:
Open IntelliJ IDEA and return to the Welcome to IntelliJ IDEA screen.
If an old project opens automatically, select:
File → Close Project
Open:
Configure → Settings
Navigate to:
Editor → File Encodings
Set: Create UTF-8 files
to: with no BOM
Save the settings.
Create a new project and try running a simple program.
Internal error: com.intellij.platform.ide.bootstrap... Process "C:\...idea64.exe" is still running and does not respond
Another possible cause is that Rider is stuck running in the background.